← Back to Instructions
-
1. Apply Flat Black Primer
Apply a coat of flat black spray primer to all resin components. Hold the can 8–12 inches from the surface and apply thin, even coats to avoid pooling. Allow to dry completely before moving to the next step.
-
2. Dry Brush Neutral Gray
Dry brush a neutral gray (such as Liquitex Neutral Gray No. 5) over the primed surface. Load a stiff-bristled brush lightly, wipe most of the paint off on a paper towel, then drag lightly across the texture to pick out raised detail. This creates depth and dimension.
-
3. Dry Brush Titanium White
Apply a lighter dry brush of titanium white over the gray, using the same technique. Use even less paint than in the previous step — this final highlight layer should only catch the very tips of the texture for a crisp, stone-like finish.
-
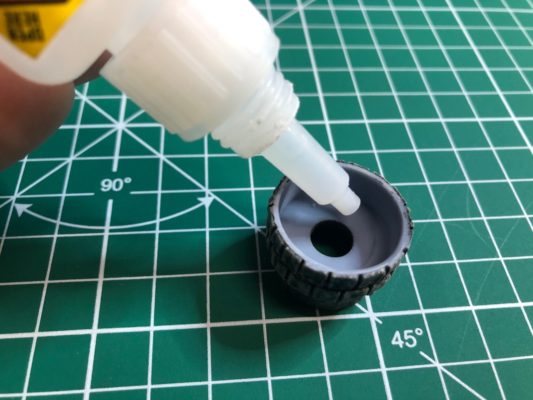
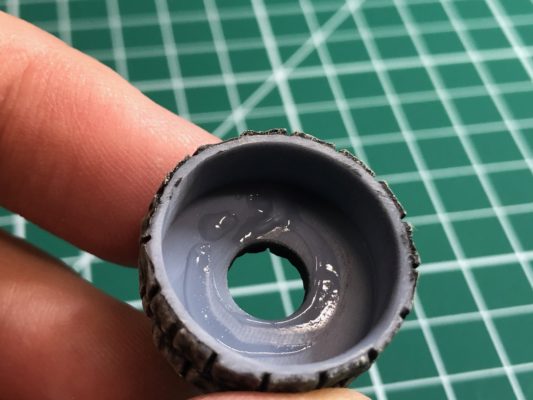
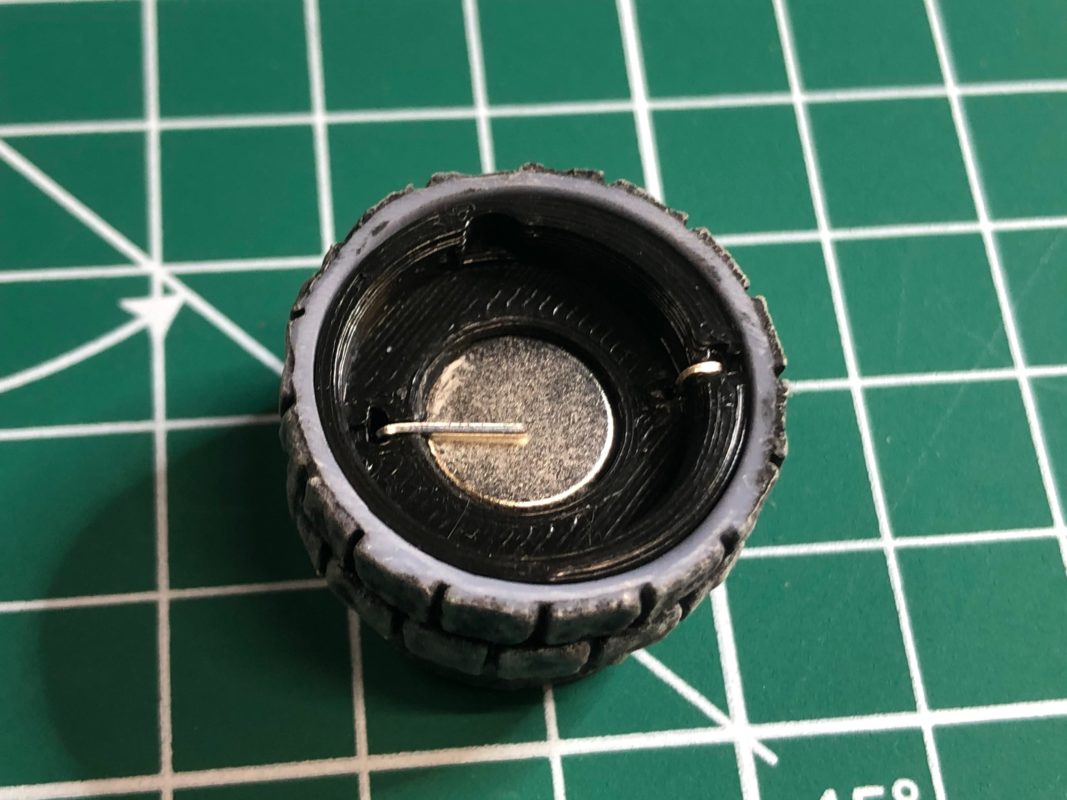
4. Install the Electronics Package
Apply small amounts of super glue inside the resin shell. Insert the electronics package with the LED through the center hole, with the LED facing downward. Allow 10 minutes drying time before proceeding.
-
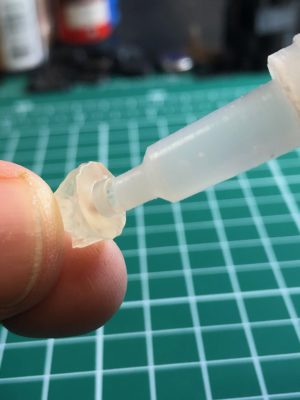
5. Attach the Flame Effect Cover
Apply a small amount of super glue around the LED opening, then carefully attach the flame effect cover. Align it centered over the LED. Allow another 10 minutes for the glue to cure before handling.
-
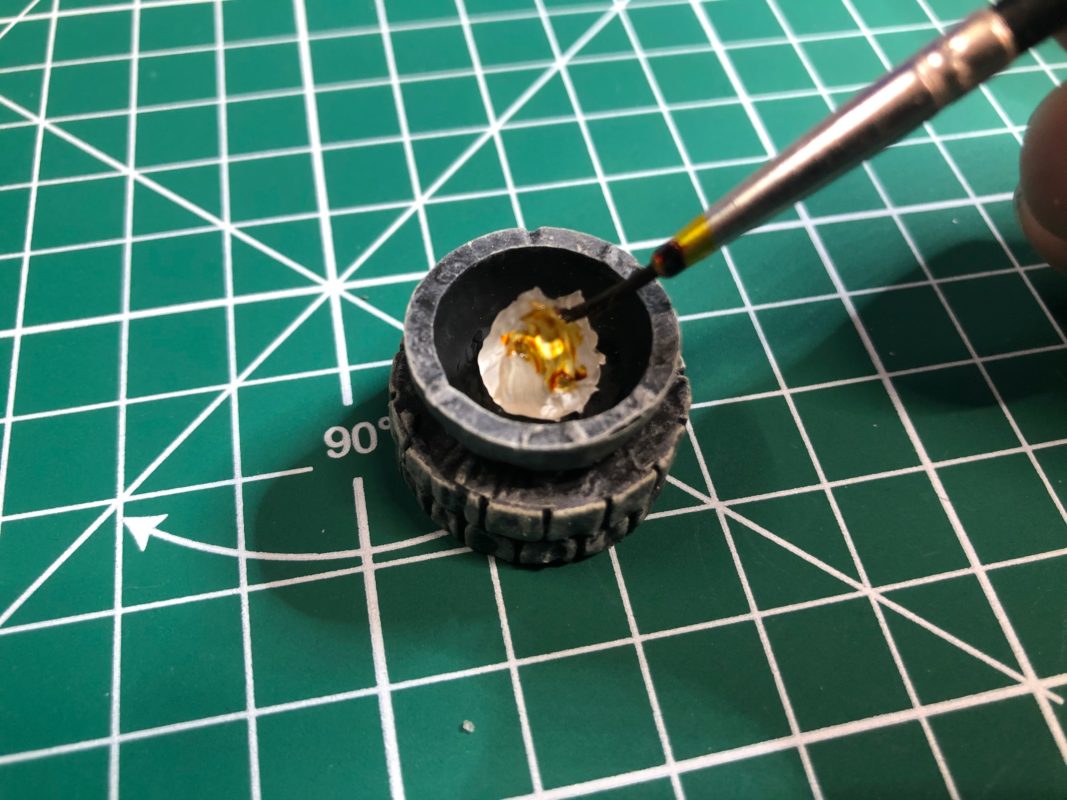
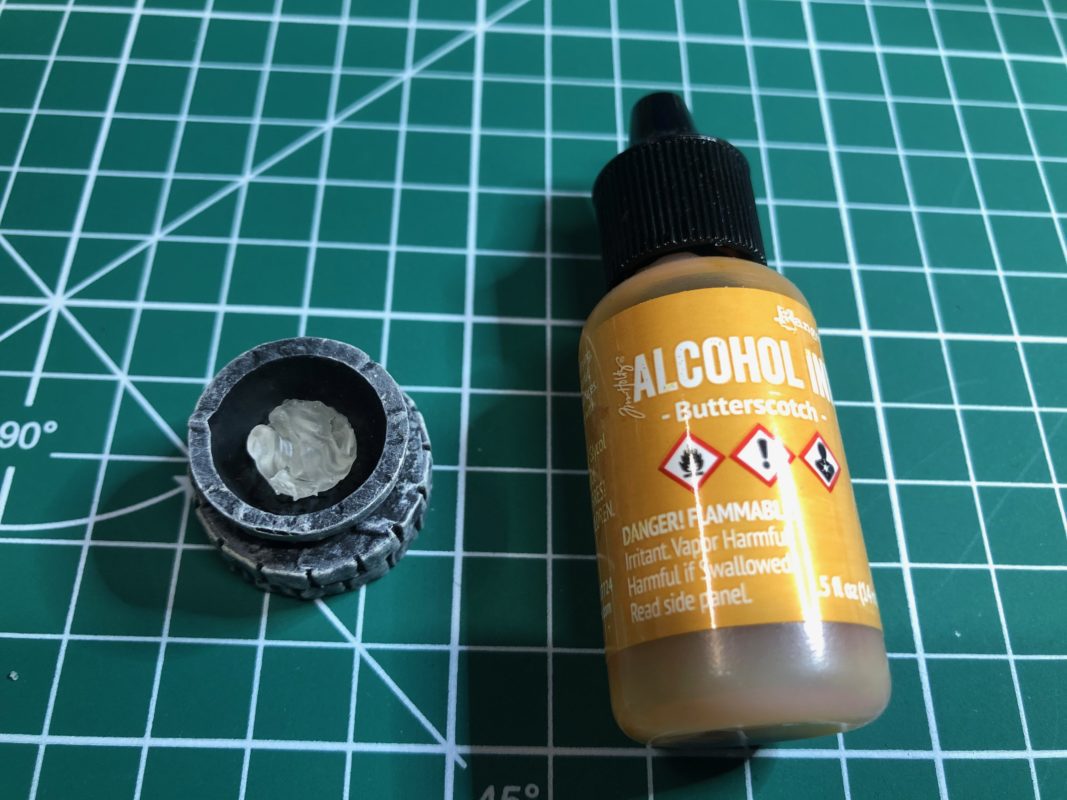
6. Optional: Color the Flame with Alcohol Ink
For a warm, amber glow, apply small amounts of alcohol ink (such as “Butterscotch” by Ranger Ink) to the flame effect cover. Allow a full 24 hours of drying time before gluing, as alcohol ink can interfere with adhesion if not fully cured.