← Back to Instructions
-
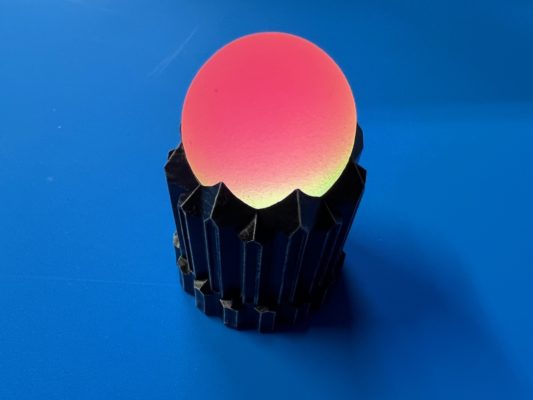
1. Paint the Outer Shell
Apply a matte black spray base coat to the entire outer shell. Once dry, dry brush white on the raised edges and carved details to create depth. Finish with a gloss UV protectant coat to protect the paint and add a subtle sheen.
-
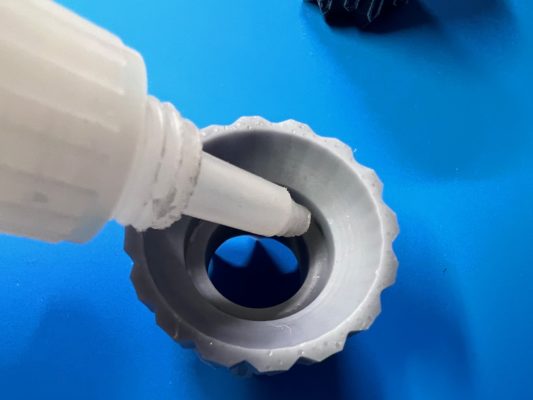
2. Apply Glue to the Inner Ring
Turn the palantír upside down and apply super glue around the inner ring — the raised circular channel where the electronics package will seat.
-
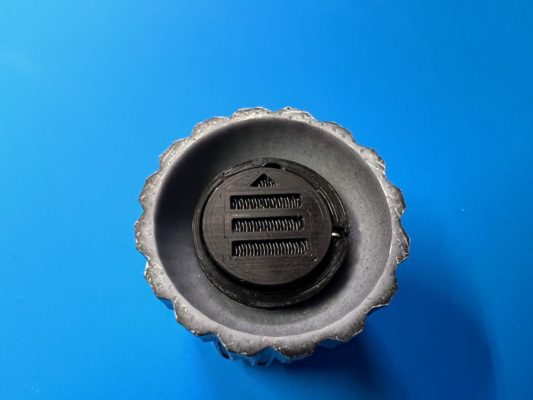
3. Install the Electronics Package
Place the electronics package into the small inner ring with the LED facing downward. Press firmly and allow 15 minutes of drying time before continuing.
-
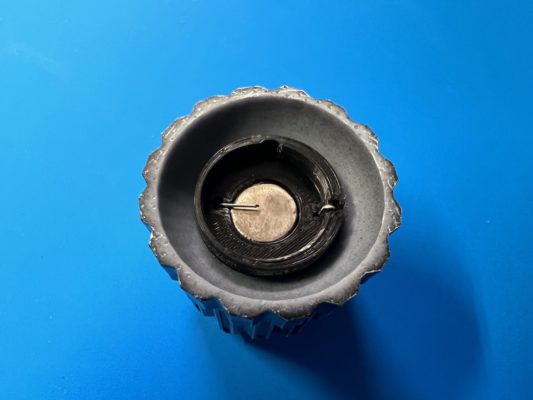
4. Insert the Battery
Insert the battery following the included directions. The arrow on the battery holder should face toward the notch. Rotate the battery holder counter-clockwise to activate the LED.
-
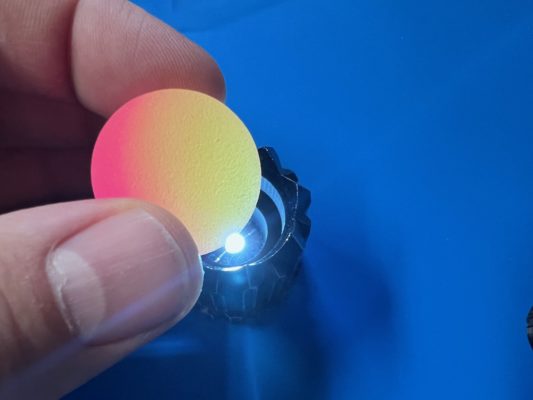
5. Place the Orb
Place one of the included two-tone rubber balls (the “orbs”) into the hole on top of the palantír. Verify there is no light leakage around the edges.
-
6. Experiment with the Orb
The color effect changes depending on the orientation of the rubber ball in the opening. Try rotating or flipping it to find your preferred look. Have fun storming the castle!