← Back to Instructions
-
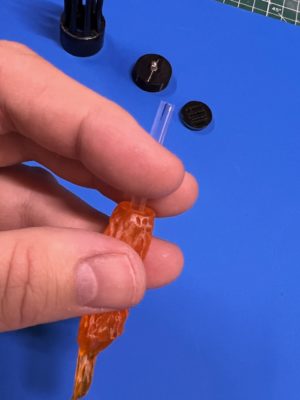
1. Insert the Fiber Optic Segment (Older Kits)
If your pylon kit includes a fiber optic segment, hold the flame effect piece upside down and insert the fiber optic segment until it is fully seated and flush with the bottom surface. If it feels snug, use the handle of a paint brush to gently press it through.
Note: Pylons produced from February 2023 forward do not include a fiber optic segment — skip this step if yours does not.
-
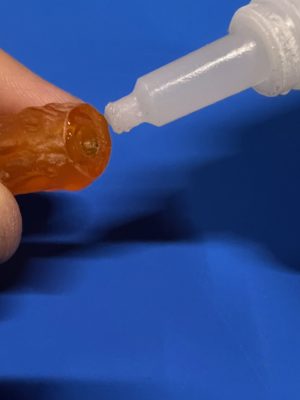
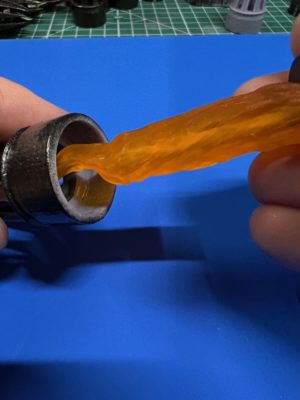
2. Apply Glue to the Flame Effect Base
Apply Gorilla Glue Gel (or similar super glue) around the base of the flame effect piece, circling the center hole where the LED will insert.
-
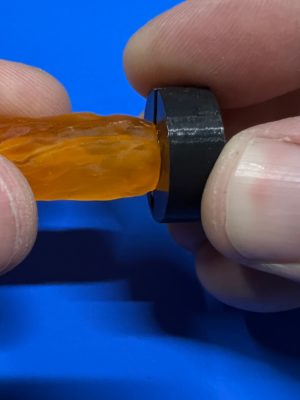
3. Attach the Electronics Package
Keep the flame effect piece sideways or upside down. Insert the LED into the hole, then press the base of the flame against the black plastic housing of the electronics package. Center carefully and hold firmly for 30 seconds. Set right-side-up and allow to cure for at least 10 minutes.
-
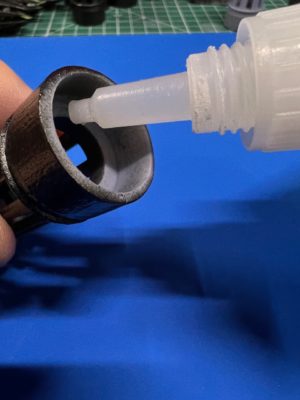
4. Apply Glue to the Outer Shell
Apply super glue around the inside lip at the bottom of the outer resin shell, where the electronics package housing will contact it.
-
5. Insert the Flame into the Outer Shell
Insert the assembled flame effect and electronics package into the outer shell, flame first, so that the black plastic housing contacts the inner glue surface. Center carefully and hold for 30 seconds. Lay the pylon on its side to cure for at least 10 minutes.
-
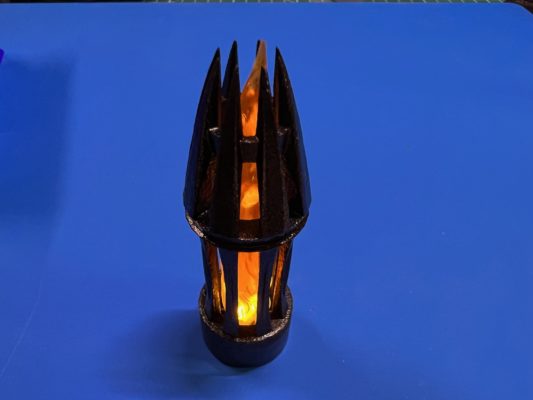
6. Install the Battery and Test
After the glue has fully cured, install the battery following the included instruction sheet. Turn on the LED and verify the flame effect is glowing correctly.